
A 6-Step Guide to Equipping Lone Workers Properly
Imagine this scenario: you’re purchasing a fleet of new work vehicles. The base model comes without airbags. Airbags are proven to save lives, they’re not a luxury, they’re essential. Would you install airbags in only 20% of the cars?
So why do we still treat personal safety tools in the workplace as optional for some and not others?
When it comes to lone worker safety, many organisations face a difficult question: Who gets the tools they need to stay safe, and who misses out? This article outlines a simple, structured approach to answering that question responsibly and effectively.
Understanding the Risk Landscape for Lone Workers
Lone, remote, and isolated work is now a norm across industries. From health workers and case managers to field technicians and site inspectors, many employees face situations where no one is nearby to assist them if something goes wrong.
The risks aren’t hypothetical.
Slips, trips, falls, threats of violence, medical emergencies, these can happen anywhere, anytime. And lone workers are particularly vulnerable because there’s often no one around to help.
The stakes?
Injury, trauma, regulatory fines, reputational damage, or even loss of life. That’s why proactive safety strategies are more important than ever.
So… how do you choose who to equip?
The 6-Step Method: How to Decide Who Gets Safety Tools
Step 1: Identify and Assess the Risk
Start by clearly identifying the specific hazards present in your work environment. For each hazard, assess its likelihood and the consequences if it were to occur.
Use risk matrices and consultation with staff to rate the severity. Remember: the goal is to understand what could go wrong and how badly.
Step 2: Apply the Hierarchy of Controls
Use the well-established hierarchy of hazard controls:
- Elimination: Can you remove the hazard completely?
- Substitution: Can you replace it with something safer?
- Engineering Controls: Can you isolate people from the hazard?
- Administrative Controls: Can you change how people work to reduce exposure?
These controls help reduce the likelihood of exposure, but they rarely remove it entirely, especially for lone workers.
Step 3: Identify Who Is Still Exposed
After implementing controls, some staff may still face residual risk.
Who are they?
This may include:
- Field staff who work solo
- After-hours workers
- Community or outreach staff
- Maintenance and inspection crews
These are the people for whom safety tools become essential.
Step 4: Assess Who Has (or Lacks) the Right Tools
Do the at-risk employees already have tools to help them avoid harm?
Ask yourself:
- Do they have a duress alarm or emergency alert system?
- Can they signal for help instantly?
- Are they able to perform check-ins or journey tracking?
If the answer is no, those employees are still vulnerable, and so are you.
Step 5: Select the Right Tools
Now it’s time to identify which tools can help manage the risk.
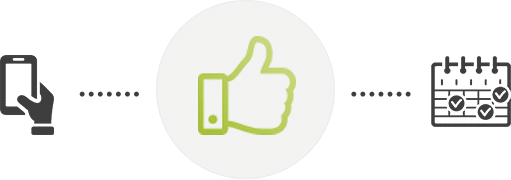
Modern lone worker safety solutions, such as My Safety Buddy, are designed to:
- Automate check ins
- Offer duress alarms for fast emergency help
- Enable real-time location tracking
- Provide man down alarms for non-movement
- Monitor journeys
- Automatically escalate if check-ins are missed
Importantly, these tools are easy to use and should require no special hardware, just a smartphone.
Step 6: Decide Who Gets the Tools
Here’s the big question: Who should receive the safety tools?
Let’s revisit the car example. Would you install airbags for only 20% of the fleet?
It’s the same logic here.
If 100 lone workers are at risk, but only 20 are given tools to manage emergencies, how will you explain why the other 80 weren’t protected when something goes wrong?
It’s not just a budget decision. It’s a duty-of-care decision. It’s a leadership decision.
The Problem with Selective Protection
We often hear: “We can’t afford to give everyone a safety app.”
But ask this: Can you afford the reputational, legal, and emotional cost of an avoidable incident?
Giving tools to only a few:
- Creates inconsistent processes
- Increases resentment among workers
- Sends the wrong message: some workers are more important than others
Instead, equipping all exposed staff builds:
- Trust
- Safety culture
- Compliance
- Staff morale
And yes, with the right tool, it can still be cost effective.
Timing Is Everything: The Risk Is Now
The risk to your lone workers isn’t hypothetical or future-dated. It’s happening right now.
Someone may be exposed this week, tomorrow, or in the next hour.
So, when should you act?
It may not be “reasonably practicable” to implement a new system by the end of this week,
but if you still haven’t acted in 3 to 6 months, and something goes wrong, it may be too late.
OHS regulators won’t just ask what happened. They’ll ask what you did to prevent it.
Why My Safety Buddy?
My Safety Buddy is Australia’s leading lone worker safety app, offering:
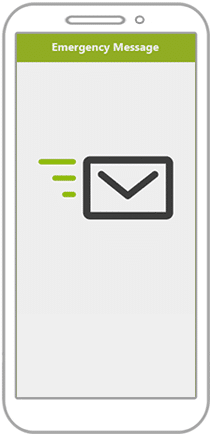
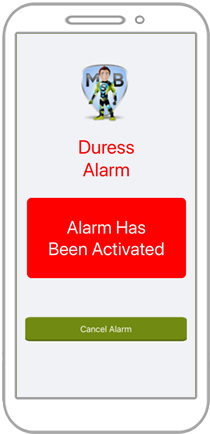
- Duress Alarm
- Man Down Alarm
- Automated Check-Ins
- Journey Monitoring
- Welfare Checks
- Real-time alerts
- Real-time GPS location
- Supervisor escalation
It works right from a smartphone or web portal. No hardware. No mess. No complexity. Just scalable protection, fast.
Final Thought: Safety Is for Everyone
Safety tools should not be a privilege.
If a risk affects 100 staff, then 100 staff deserve to be equipped. Not just the most visible ones. Not just the ones who ask.
As a leader, you send a powerful message when you choose to protect everyone.
We know how to help you do that.
~ ~ ~

Travis Holland
CEO
My Safety Buddy
Should you wish to discuss strategies to improve your staff’s safety in their work environment, please feel welcome to contact My Safety Buddy.
Passionate about creating safer workplaces our goal is to enhance wellbeing for all concerned whilst also delivering improved operational and financial performance.
Enjoyed this piece? Please share, like, and comment. If you would like to read more, follow Travis on LinkedIn.
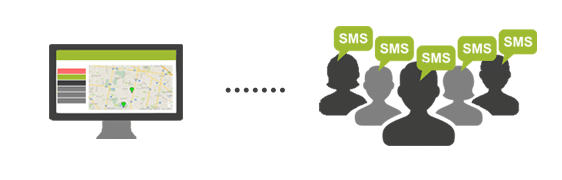
 SMS Broadcasts
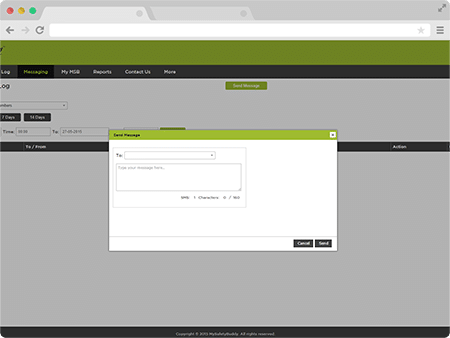
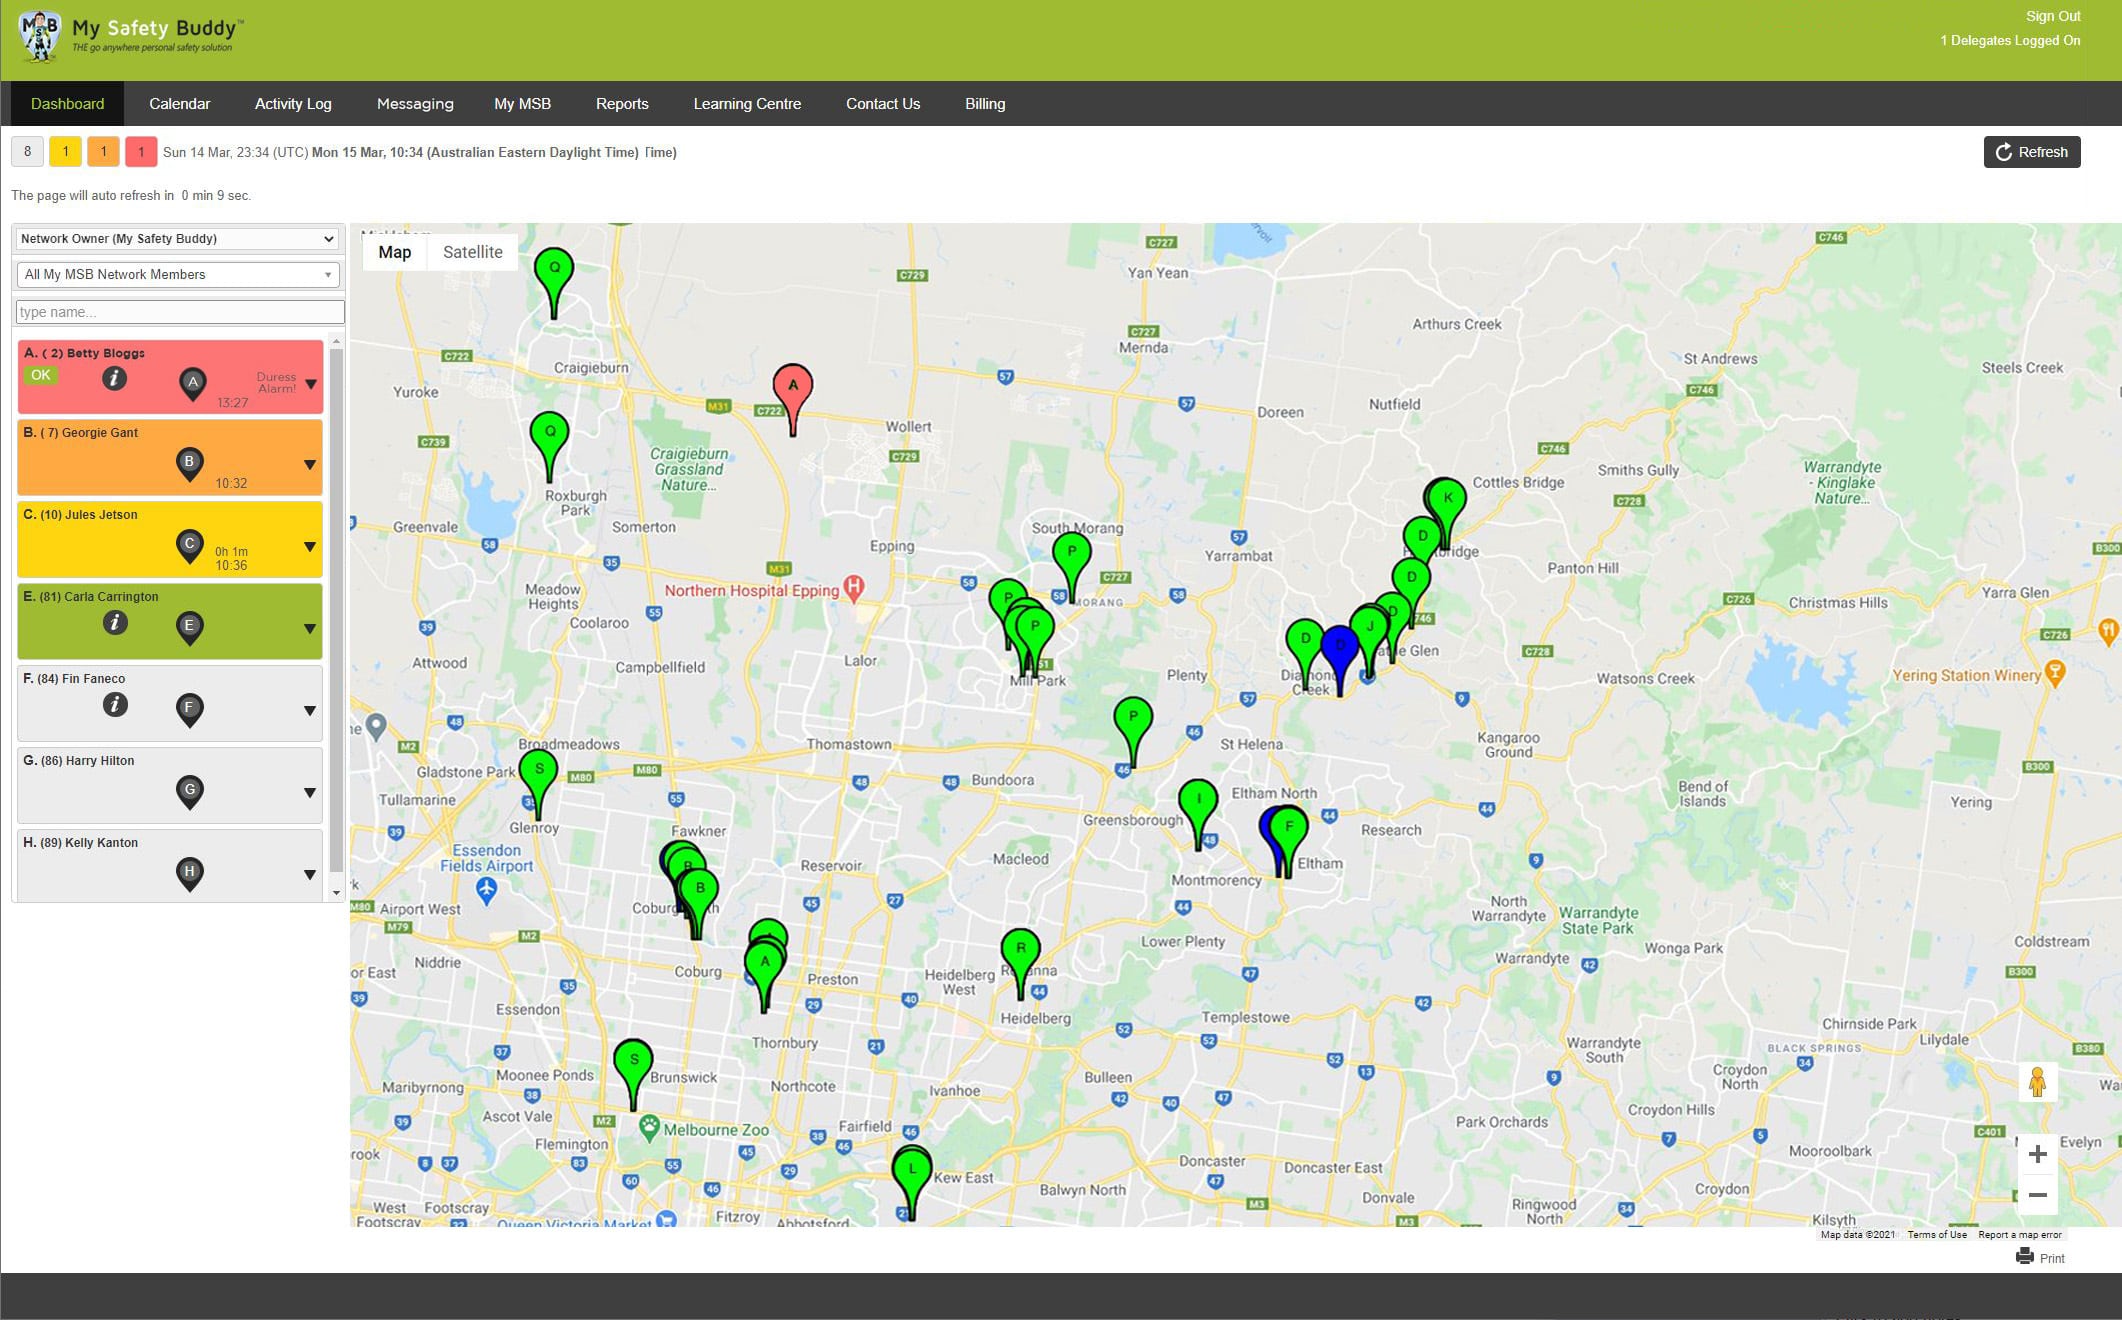 Web Portal and Dashboard
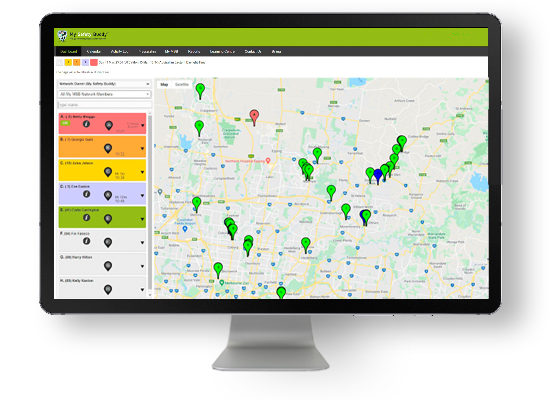
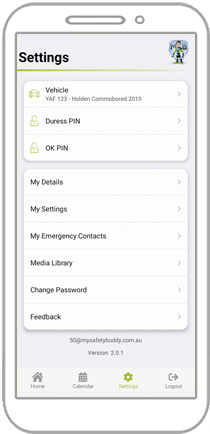 Customisable Settings
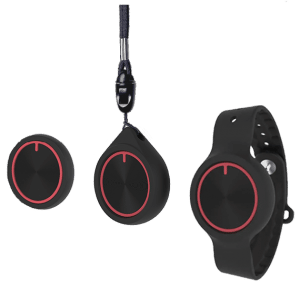


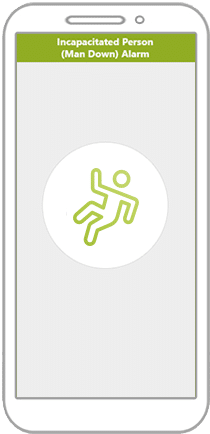 Man Down Alarm
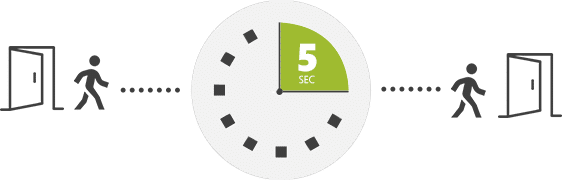
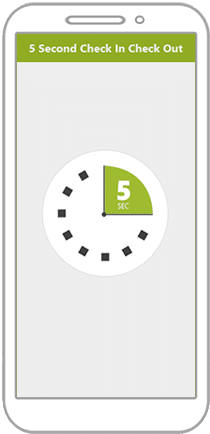 5 Second Check In
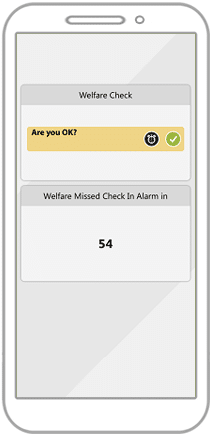 Welfare Checks
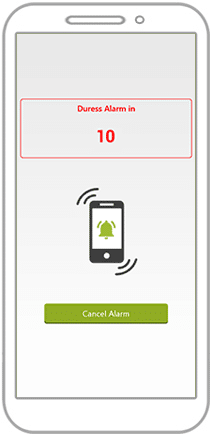 Duress Alarm (Panic Alarm)
 Real Time Video